Posts tagged design

Chicken coop making progress
0When we decided that we wanted more chickens, we knew that we would also eventually need more living space for them. There are really three different types of space involved: interior space that is safe and weather protected, a ‘run’ that is safe from predators but is outside, and field space where they can wander around in the grass and scratch for treats like clover, bugs and worms.
First we thought we could build something like we built before only bigger. A couple of years ago we built two custom coops that can comfortably hold ten and five, respectively. With 16 chickens we were pretty much at capacity. A year ago we only had 12, but wanted to allow one of the hens, Tilda, to raise her own chicks. This worked out beautifully, but required the small coop as a nursery, leaving the remained 11 in the larger coop. This spring we got 20 more chickens, so we know we needed a lot more space.
So building a larger coop was our first option, but later we thought we might not have the time or initiative to design/build something ourselves. We researched pre-built coops only to find that they were rather expensive – even kits. We looked at generic pre-built sheds and realized that they were not quite what we wanted and still a bit expensive. We would have to modify a shed with better ventilation, more light, better access. an internal wall for storage, etc.
So back to the design/build option. We looked at lots of designs on the Internet and started to formulate our ideas. We really liked some designs with a clerestory wall with windows for light. That wall on the inside created the separation for a storage area. I bought a simple drafting/drawing program called Home Plan Pro and started to design the coop.
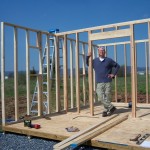
The design started with a 8′ by 12′ footprint, but quickly changed to 8′ by 14′, followed by 10′ by 16′, and finally 12′ by 16′. I liked the multiples of 4′. I was thinking in terms of sheets of plywood. It was a bit annoying each time I had to lengthen or widen the design, but we figured if we were going to all this trouble, we might as well make it big enough to provide room for all of our chickens as well as storage for their ‘stuff’. On paper it looked nice, but I didn’t fully appreciate its size until I put up the first walls. It was a lot taller than I imagined. I was using 8-ft studs for the walls, but lowered the design to 7′ 6″ so the siding would attach to something on the top and bottom.
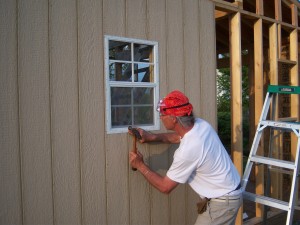
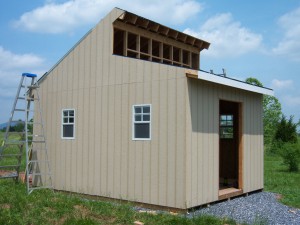
The whole build process is on my Chicken Coop Picasa album. This includes everything from site prep to the shingles I put on yesterday.
Meanwhile, the original chickens and Tilda’s babies are all living in the original coop, the new babies (who are now about 7-weeks old) have moved outside to the nursery coop. We need the new chicken palace to be ready for action very soon. I haven’t even started to think about the run or the yard. The run will take some time as it needs framing and lots of hardware cloth. The yard will be perhaps 15,000 sq. ft. so will need quite a lot of perimeter wire fence. It will be a good day when this job is finished, the chickens are installed, and I am sitting in the yard with an ice tea enjoying the scene.


