Coop project

Chicks move into Gallus Palace
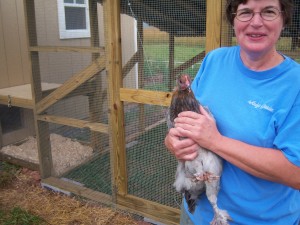
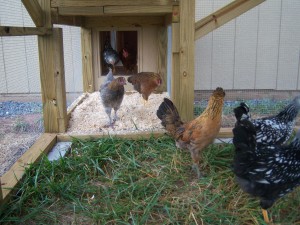
0Fifteen of the new chickens who are about 12 weeks old now moved into the new coop – Gallus Palace – yesterday. It was a s big a day for us as it was for the chickens. It feels like we have been building the Palace since the Eisenhower administration and it was a momentous occasion. We carried the birds over one or two at a time and although we were happy about it the chickens were not so sure. Being creatures of habit, they were initially frozen in their new surroundings. We set up food and water and after a few minutes they started to walk around and explore their new home.
We moved 13 hens and only two of the six roosters. We will be keeping Big Red and Duran for breeding. We left the three Partridge Rock roosters and the Egyptian Fayoumi in the nursery coop where we added the six guineas. This was the driving force as of late behind the effort to finish the Palace. The guineas have been living in the basement in a smallish box about 2 ft by 5 ft. They were clearly outgrowing that space and they were really beginning to stink up the basement. guineas are excellent fliers, unlike chickens, so we wanted them to go inside of the nursery coop with the roosters outside for a few days until they could get better acquainted. Last night after dark, we put the roosters into the nursery coop and come morning they all seemed to be resigned to these living quarters. We will keep the guineas inside the coop for another day or two so they get used to roosting in the coop. The main coop and nursery coop are both covered, so the guineas can’t fly away, but they will be virtually impossible to catch and we are hoping that they will learn to go into the coop at night.
Eventually, we will move the guineas into the Palace and the soon to be fenced chicken yard will not be covered and the guineas will be free to roam the countryside. It is our hope that they will hang around for the free food and lodging, but there is no guarantee. We have read stories of whole flocks of Guineas just wandering or flying off and never returning 
You can review the entire project through the Picasa photo gallery (139 pictures).

Chicken Run
0Although the chickens will soon have a nice new home, indoors is not their preferred habitat. They need a place to be outside yet remain safe from predators. This is the function of the ‘chicken run’.
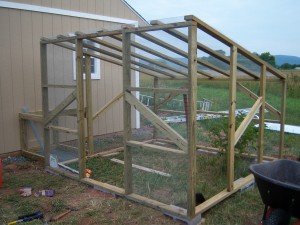
It seemed like it wouldn’t take too long to build, but of course it is taking longer than expected. The ground here is sooooo hard that digging is a real pain. We went with corregated steel roofing, but I’ll have to climb onto the roof to install it which might be a bit tricky. There is a little ‘tunnel’ between the coop and the run. We didn’t want to screw the whole thing into the side of the brand new coop, so now it attaches by way of the tunnel. The final piece to the run will be a little access door to the yard which will only take a half hour to build – unless it actually takes an hour or three or four!

Gallus Palace
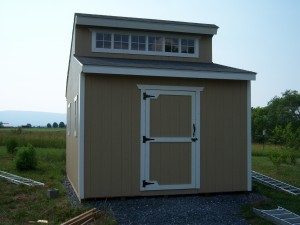
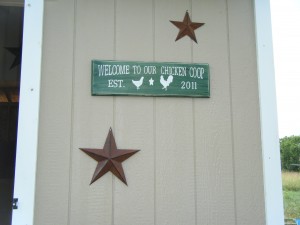
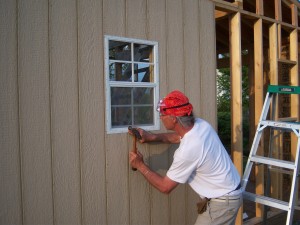
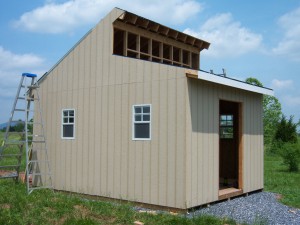
2This was a good day – getting the front door finished and finally a fully weather proof structure! Adding the white trim boards at the corners and around the windows really adds a nice touch. It is looking so nice that we often comment on turning this into a guesthouse! It really does seem way too fancy for chickens, at least on the outside, but that part is more for our enjoyment. So I came up with the name “Gallus Palace”, (Gallus is both the genus and species name for the domestic chicken) and what a palace they will be living in.
I am really excited about all the storage space that we will have for all of our chicken supplies. It will be so nice to get all that out of the garage and have it closer to where the chickens actually live.
We’ve started on the secure outdoor run and are hoping to be far enough along to move this year’s chicks in the next week or so. We really need to free up that small coop where they are currently residing so we can get the guinea keets moved outside. The next steps will include adding the hardware cloth to the entire structure as well as burying about a foot of it in the ground all around the perimeter to keep digging critters from helping themselves to a late night chicken dinner.

Chicken coop making progress
0When we decided that we wanted more chickens, we knew that we would also eventually need more living space for them. There are really three different types of space involved: interior space that is safe and weather protected, a ‘run’ that is safe from predators but is outside, and field space where they can wander around in the grass and scratch for treats like clover, bugs and worms.
First we thought we could build something like we built before only bigger. A couple of years ago we built two custom coops that can comfortably hold ten and five, respectively. With 16 chickens we were pretty much at capacity. A year ago we only had 12, but wanted to allow one of the hens, Tilda, to raise her own chicks. This worked out beautifully, but required the small coop as a nursery, leaving the remained 11 in the larger coop. This spring we got 20 more chickens, so we know we needed a lot more space.
So building a larger coop was our first option, but later we thought we might not have the time or initiative to design/build something ourselves. We researched pre-built coops only to find that they were rather expensive – even kits. We looked at generic pre-built sheds and realized that they were not quite what we wanted and still a bit expensive. We would have to modify a shed with better ventilation, more light, better access. an internal wall for storage, etc.
So back to the design/build option. We looked at lots of designs on the Internet and started to formulate our ideas. We really liked some designs with a clerestory wall with windows for light. That wall on the inside created the separation for a storage area. I bought a simple drafting/drawing program called Home Plan Pro and started to design the coop.
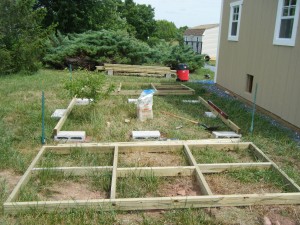
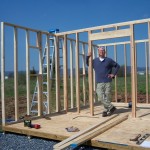
The design started with a 8′ by 12′ footprint, but quickly changed to 8′ by 14′, followed by 10′ by 16′, and finally 12′ by 16′. I liked the multiples of 4′. I was thinking in terms of sheets of plywood. It was a bit annoying each time I had to lengthen or widen the design, but we figured if we were going to all this trouble, we might as well make it big enough to provide room for all of our chickens as well as storage for their ‘stuff’. On paper it looked nice, but I didn’t fully appreciate its size until I put up the first walls. It was a lot taller than I imagined. I was using 8-ft studs for the walls, but lowered the design to 7′ 6″ so the siding would attach to something on the top and bottom.
The whole build process is on my Chicken Coop Picasa album. This includes everything from site prep to the shingles I put on yesterday.
Meanwhile, the original chickens and Tilda’s babies are all living in the original coop, the new babies (who are now about 7-weeks old) have moved outside to the nursery coop. We need the new chicken palace to be ready for action very soon. I haven’t even started to think about the run or the yard. The run will take some time as it needs framing and lots of hardware cloth. The yard will be perhaps 15,000 sq. ft. so will need quite a lot of perimeter wire fence. It will be a good day when this job is finished, the chickens are installed, and I am sitting in the yard with an ice tea enjoying the scene.
